I have the Halloween decorations put away and anything fall related is still out. We have our "Thankful Pumpkins" we continue to add to throughout November. But, I wanted a fun and easy DIY craft to add to the fall decor and stumbled upon this beautiful little DIY to incorporate the fall foliage - leaf roses! Have you made these before?! I'm excited to to use these to add to our centerpieces for our get together this weekend.
Directions:
Step 1: Pick out some leaves you want to use for your leaf rose.
I used about 6-7 leaves for each one.

Step 2: Fold all the corners toward the middle.
Step 3: Tightly roll the leaf to begin creating the bud.

Step 4: Take another leaf and fold all the corners toward the middle (Step 2).
Roll it around the first leaf; Repeat with a third leaf to complete the bud. 
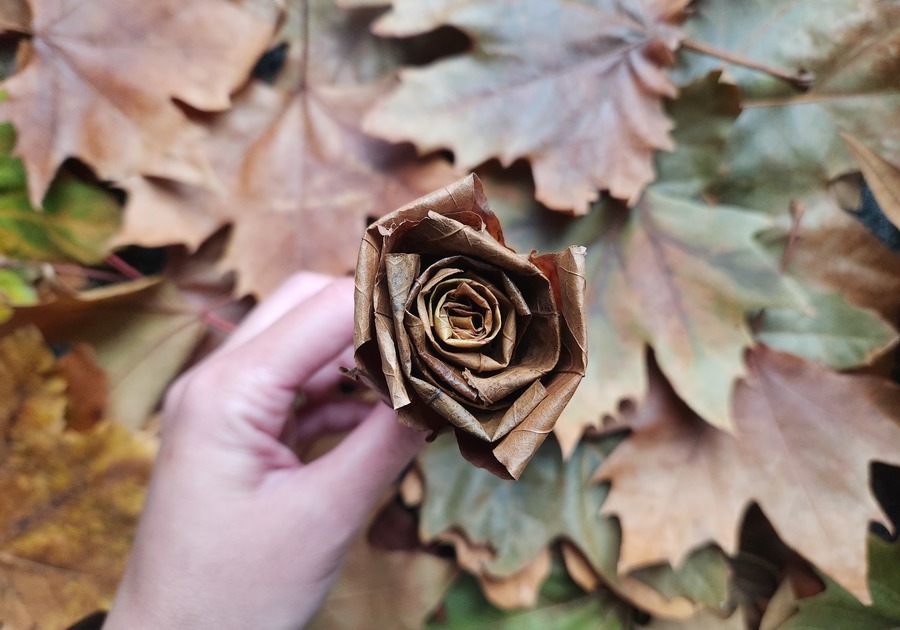
Step 5: Continue to fold the leaf tips of the other leaves down to create 'petals' and roll around the previous leaves.
As I got to my last 2-3 leaves, I played with how far I folded the leaf tips down to create the look I wanted for my leaf roses.
Use floral tape to wind around the bottom part of the leaf and stems to secure them.
There you have it - an easy and creative leaf rose. You can make as many as you like to create a bouquet and make sure to incorporate all the beautiful oranges, reds, and yellows of fall to add depth and variety!